How To Create Your Products
Upload Your Photos
Drop in your favourite family photos, pet pics or travel snaps.
Transform with AI
Turn each photo into a watercolour, pencil sketch, cartoon or black & white ink illustration.
Write Your Story
Add captions and text, or let our AI write a story based on your photos.
Print or Download
Send to print and get it delivered, or download a PDF to print yourself.
Creating a Book or Magazine
All book types and the A5 Magazine use the same editor. Here's a full walkthrough.
Upload your photos
Click Add Photo Page and upload your image. You can add as many pages as you like — the minimum is 24 pages (12 pairs) for books, or 20 pages for magazines. Drag pages in the left panel to reorder them.
Resize and position
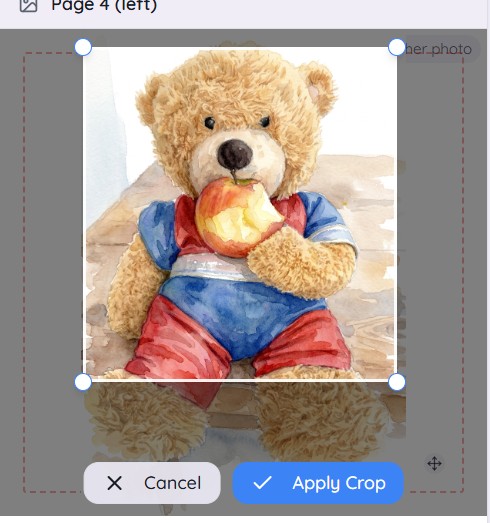
Use Crop mode or drag the blue corner handles to resize the image. Click and drag the photo to move it around the page.
Multiple photos on one page
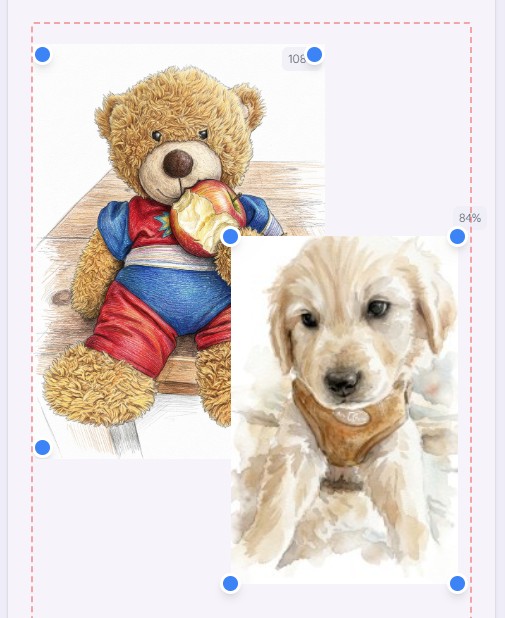
Upload 2 or more photos to a page and choose Grid or Collage. With 2 or 3 photos, switch between side-by-side (portrait) and stacked (landscape). In Collage mode you can click and drag the images to move them around the page and overlap them however you like. Use the corner handles to resize individual photos within their cell — then click Match all to resize every photo on the page to the same size as the largest one, all perfectly centred.
Comic mode (A5 Magazine/Comic Book only)
In the A5 Magazine/Comic Book editor, upload 2-5 photos to a page and choose Comic for a classic comic-strip layout — black panel borders and white gutters between cells. Drag any border between panels to resize the cells. To create diagonal panels, click the small diagonal toggle on a border — it tilts that border into a slant. Drag the border handle to adjust the angle, or click the toggle again to revert to a straight border. Mix straight and diagonal borders to get a dynamic comic-book look.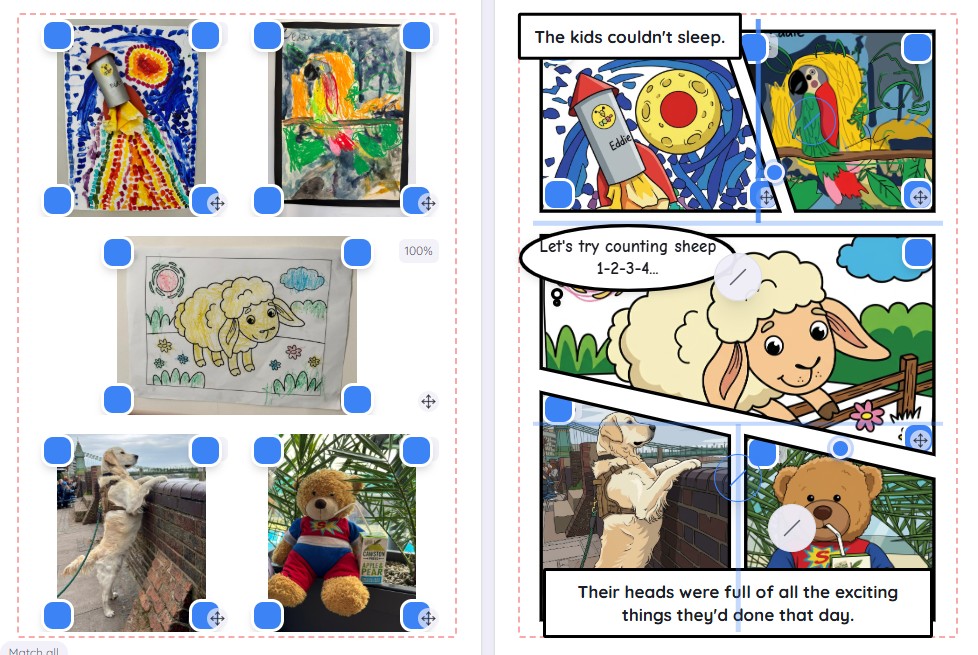
Choose your font style
Toggle between Playful (Caveat handwritten) and Elegant (refined serif) using the Font Style control in the editor. Set a default for the whole project, or override the font on individual pages.
💡 Tip: Click Preview regularly to check your work. The red dotted line is the 'bleed' area — don't place text or bubbles outside it or they may be cut off in print.
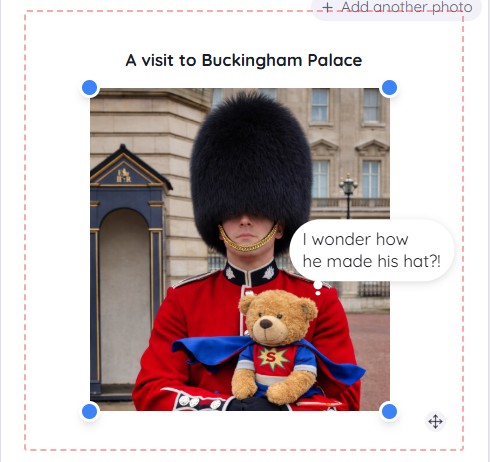
Add a top caption and drag speech bubbles anywhere on the page
Add captions and speech bubbles
On any photo page you can add text in two sections. Click and drag the text block to move it. Add speech bubbles or thought bubbles too — click and drag them anywhere on the page.
Add a text-only page
Click Add Text Page to add a page of pure text (up to 1,500 characters). Font size adjusts automatically based on how much you write. Text is centred.
💡 Tip: Mix photo pages and text pages freely — many great storybooks alternate between a full photo page and a text page opposite.
Transform each photo into a beautiful art style — watercolour, colour pencil sketch, cartoon or black & white ink drawing. You get 4 free transforms before paying for the book or PDF; after payment, click Transform All to do the rest at once.
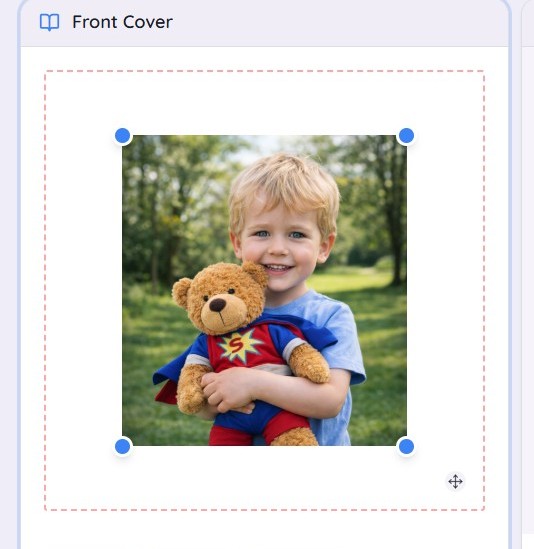 Original
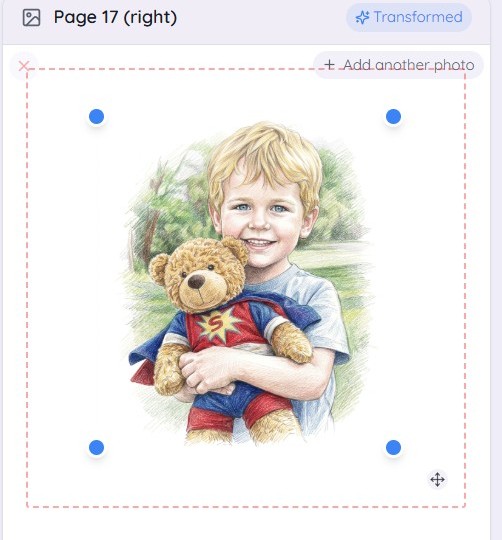 Pencil sketch
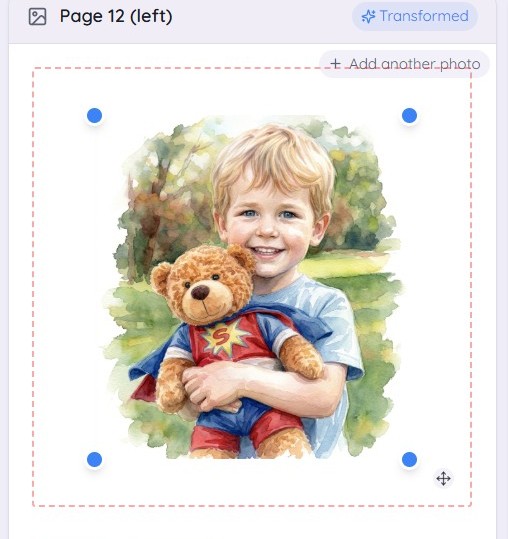 Watercolour
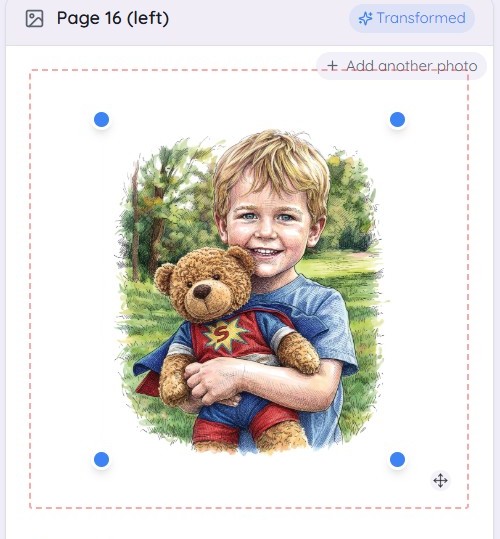 Ink sketch
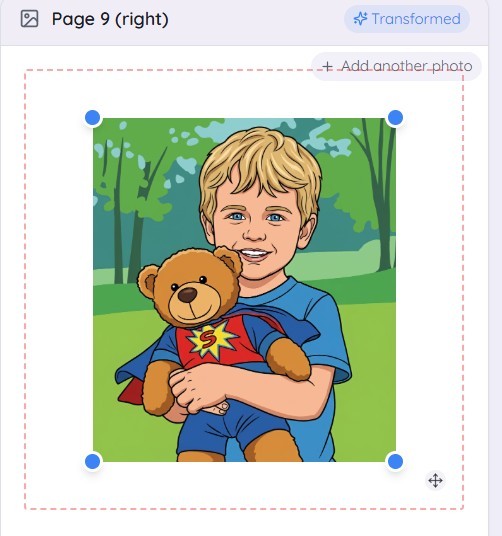 Cartoon
Custom AI Instructions
Type what you want the AI to do with your photo, then select an art style and click Transform. The instruction is applied first, then the art style is layered on top. For example:
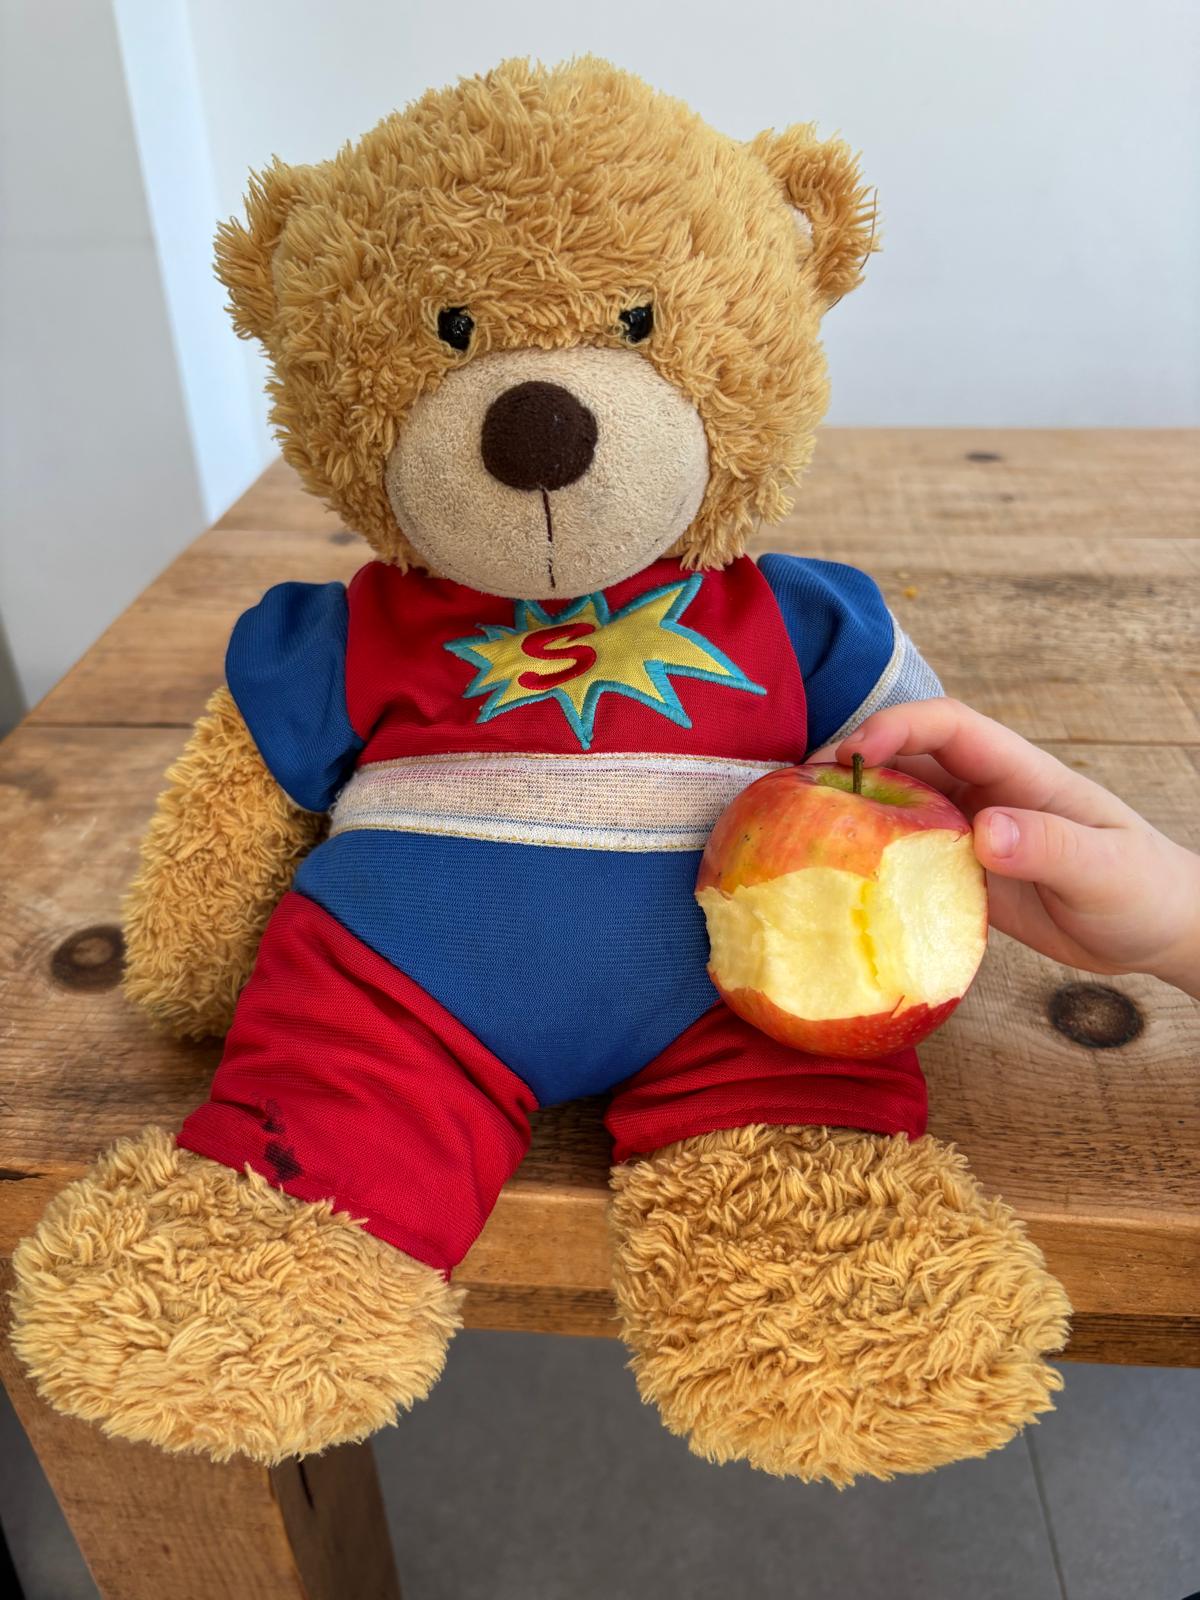 Original
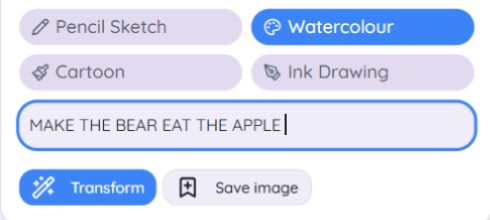 Instruct AI
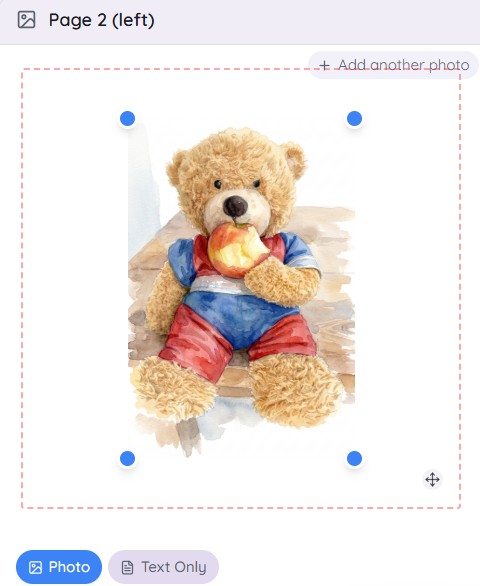 Watercolour result
Once transformed, click Save image to keep a copy in your library — find it any time under My Projects.
Let the AI write your story
Click Write My Story. The AI looks at your photos and the text you've already written, then writes a story for you. Tell it the tone you want — funny, adventurous, heartfelt — and any plot ideas. Copy the result to your clipboard and paste it into your text pages.
Preview your book
Click Preview to see your book exactly as it will print. Check all text is inside the red bleed lines, and that you're happy with the image positions and captions.
Buy and print — or download a PDF
When you're happy, click Shop to buy. Choose Print to have your book delivered (approx. 6–7 working days), or add Download PDF to get a high-quality file to print yourself. You can do both in one order.
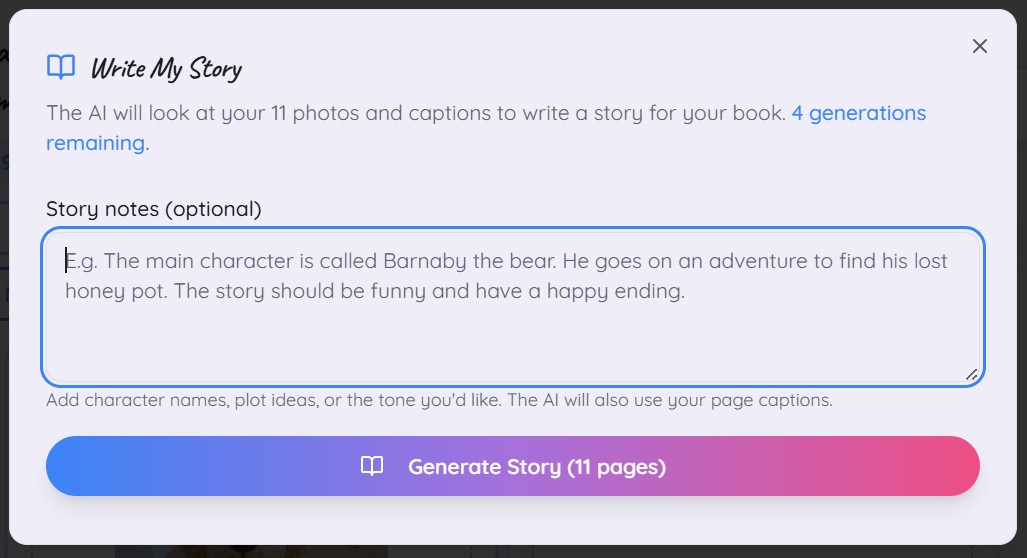
The Write My Story dialog — add notes, then let the AI generate your story
Creating a Jigsaw Puzzle
Upload a photo, optionally transform it with AI, then order it as a personalised jigsaw in a beautiful metal presentation tin.
Open the Jigsaw editor
From the home page click Create Jigsaw or from My Projects click + New Jigsaw.
Upload your photo (or up to 4)
Upload the photo you'd like on your jigsaw — or add up to 4 photos on a single jigsaw using grid or collage layouts. Resize and position each one to fill the frame. Choose between portrait or landscape orientation to suit your image.
Add captions and speech bubbles
Add a top or bottom caption and drag speech or thought bubbles anywhere on your image to give it personality.
Transform with AI (optional)
Select an art style and click Transform to turn your photo into a watercolour, sketch, cartoon or black & white ink illustration. You can also type a custom instruction to change the scene before applying the style.
Choose your size and order
Head to Shop and choose from three sizes. All come in a metal presentation tin with your image printed on the lid. UK delivery only.
Send to print when ready
After payment you can keep editing. When you're happy, click Send to Print in the editor to submit your final version for printing.
💡 Tip: Add Download Transformed Image (£0.99) at checkout to receive your image by email — great for using elsewhere or sharing.
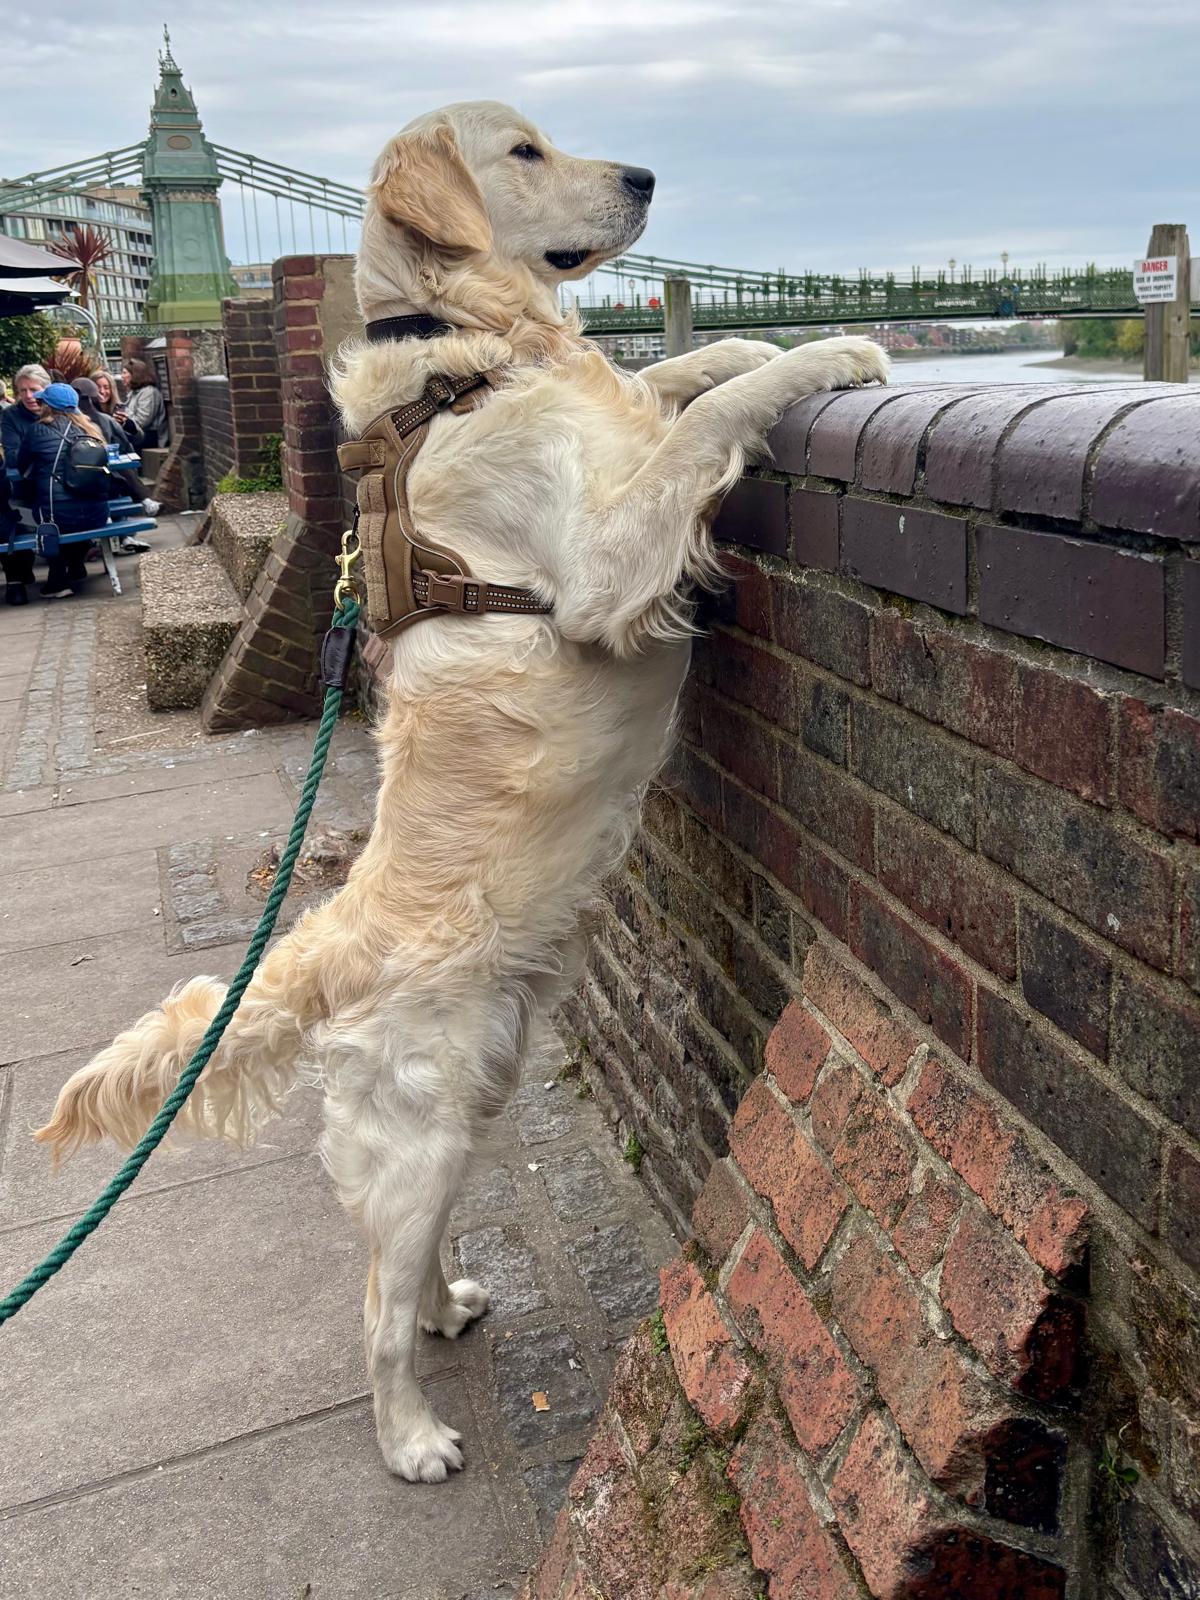
Original photo
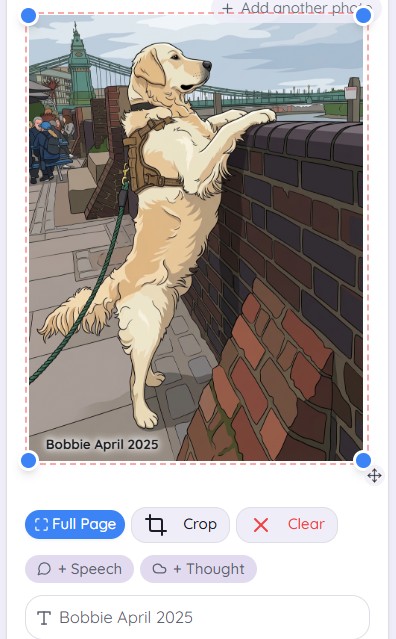
Transformed with AI + caption
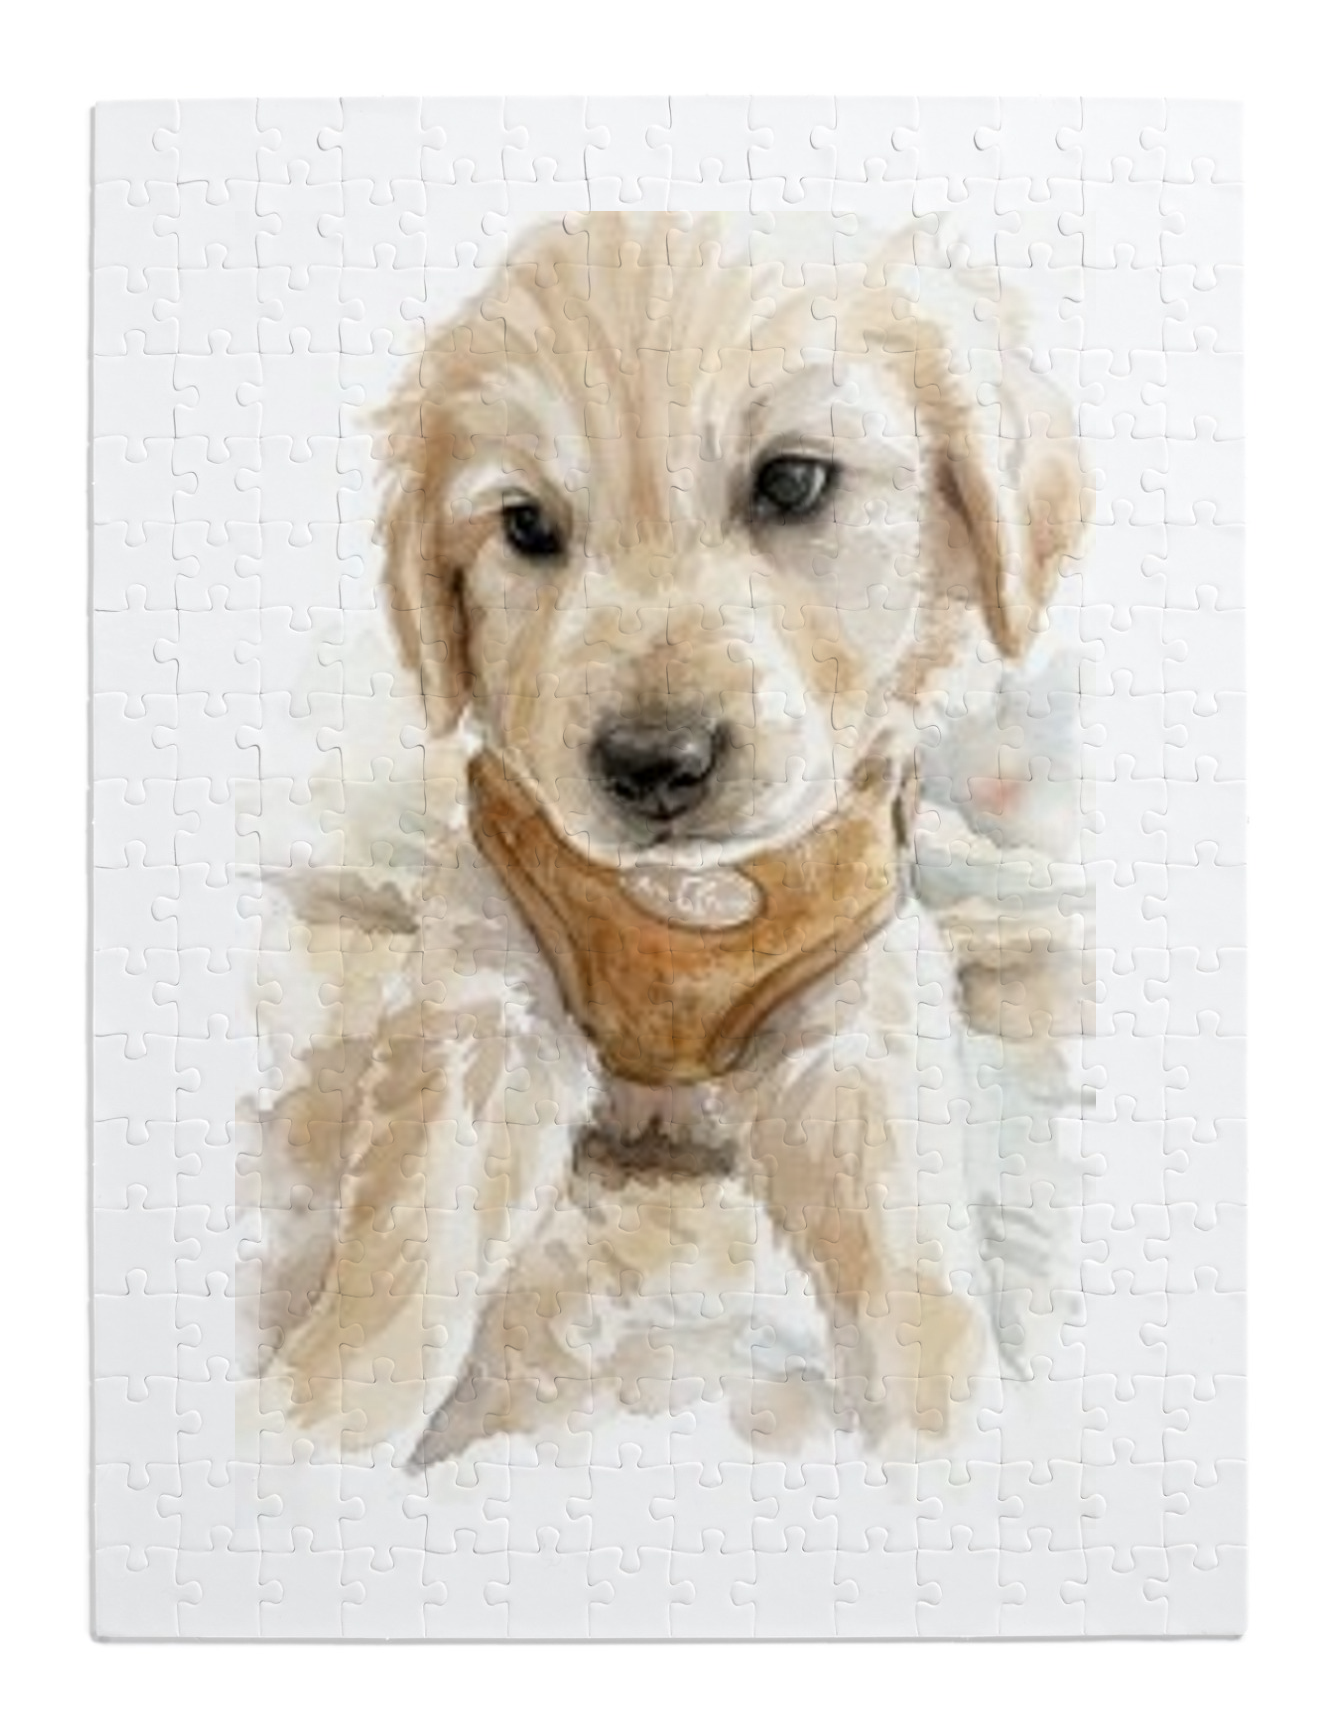 252 piece
375×285mm
252 piece
375×285mm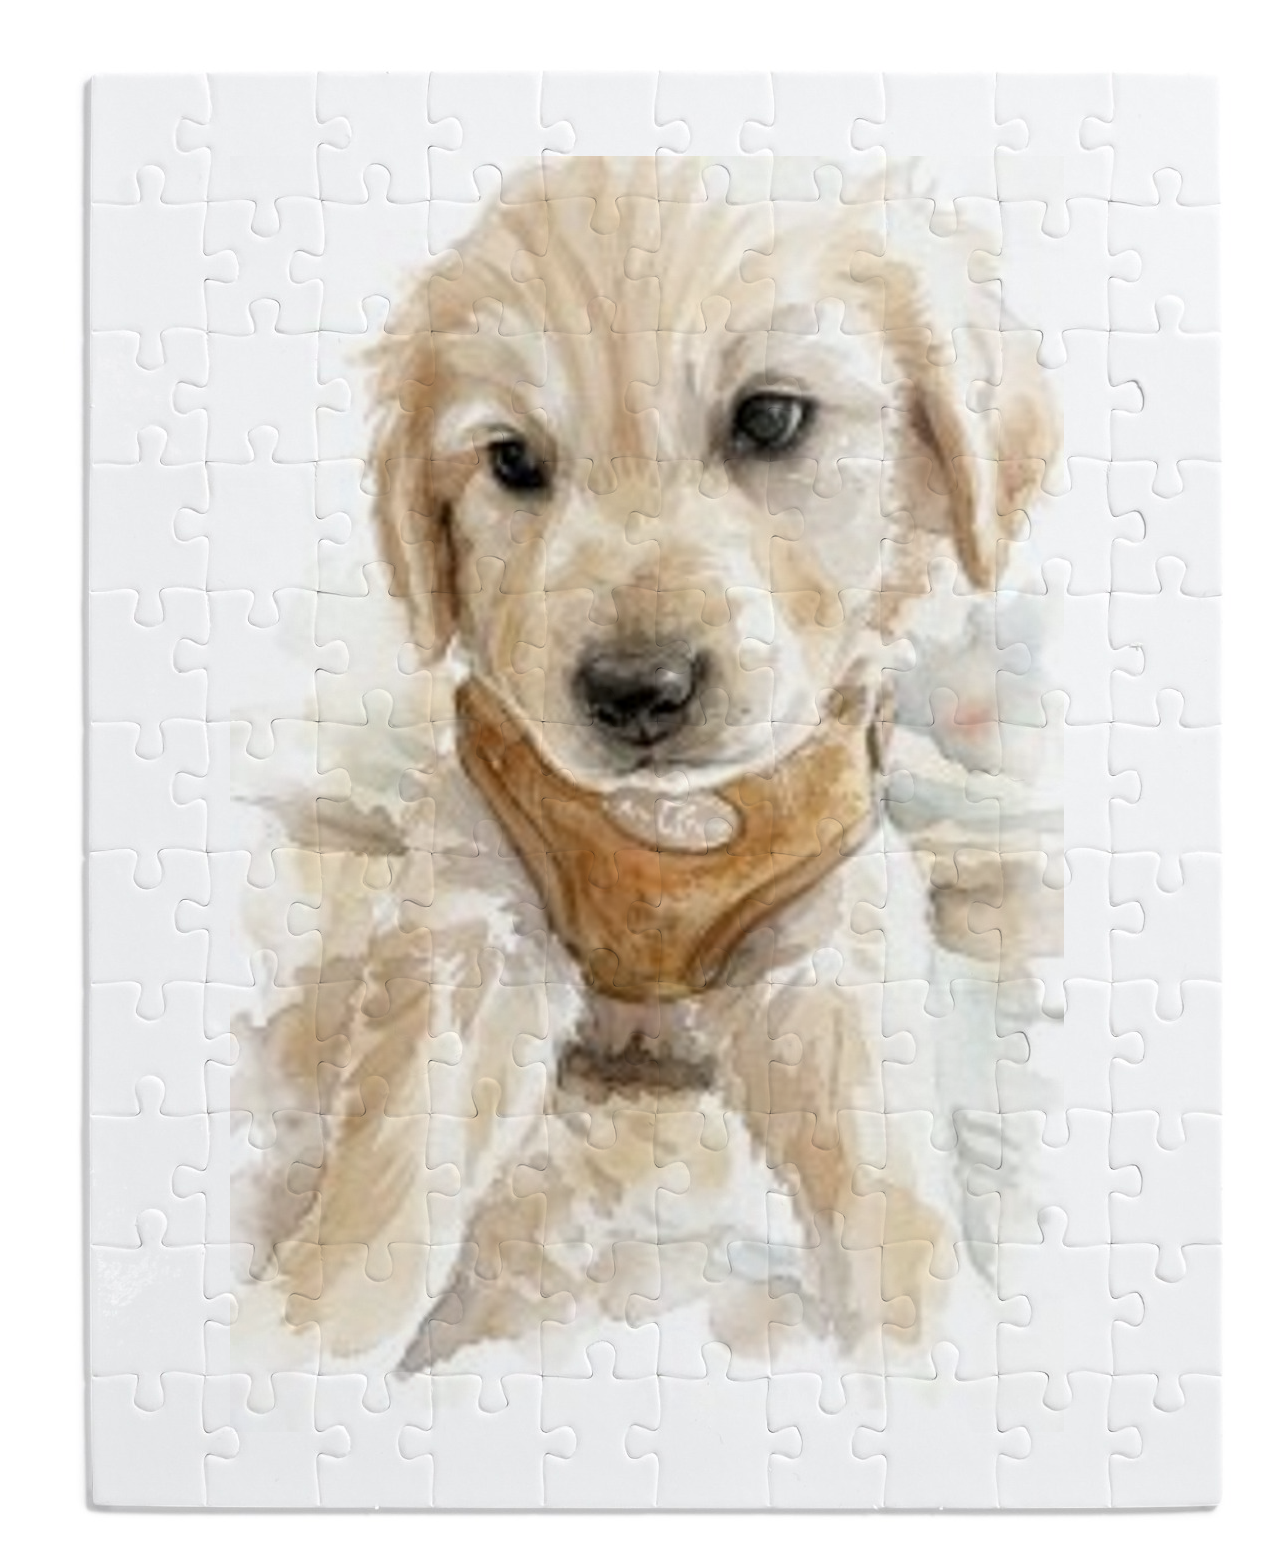 110 piece
250×200mm
110 piece
250×200mm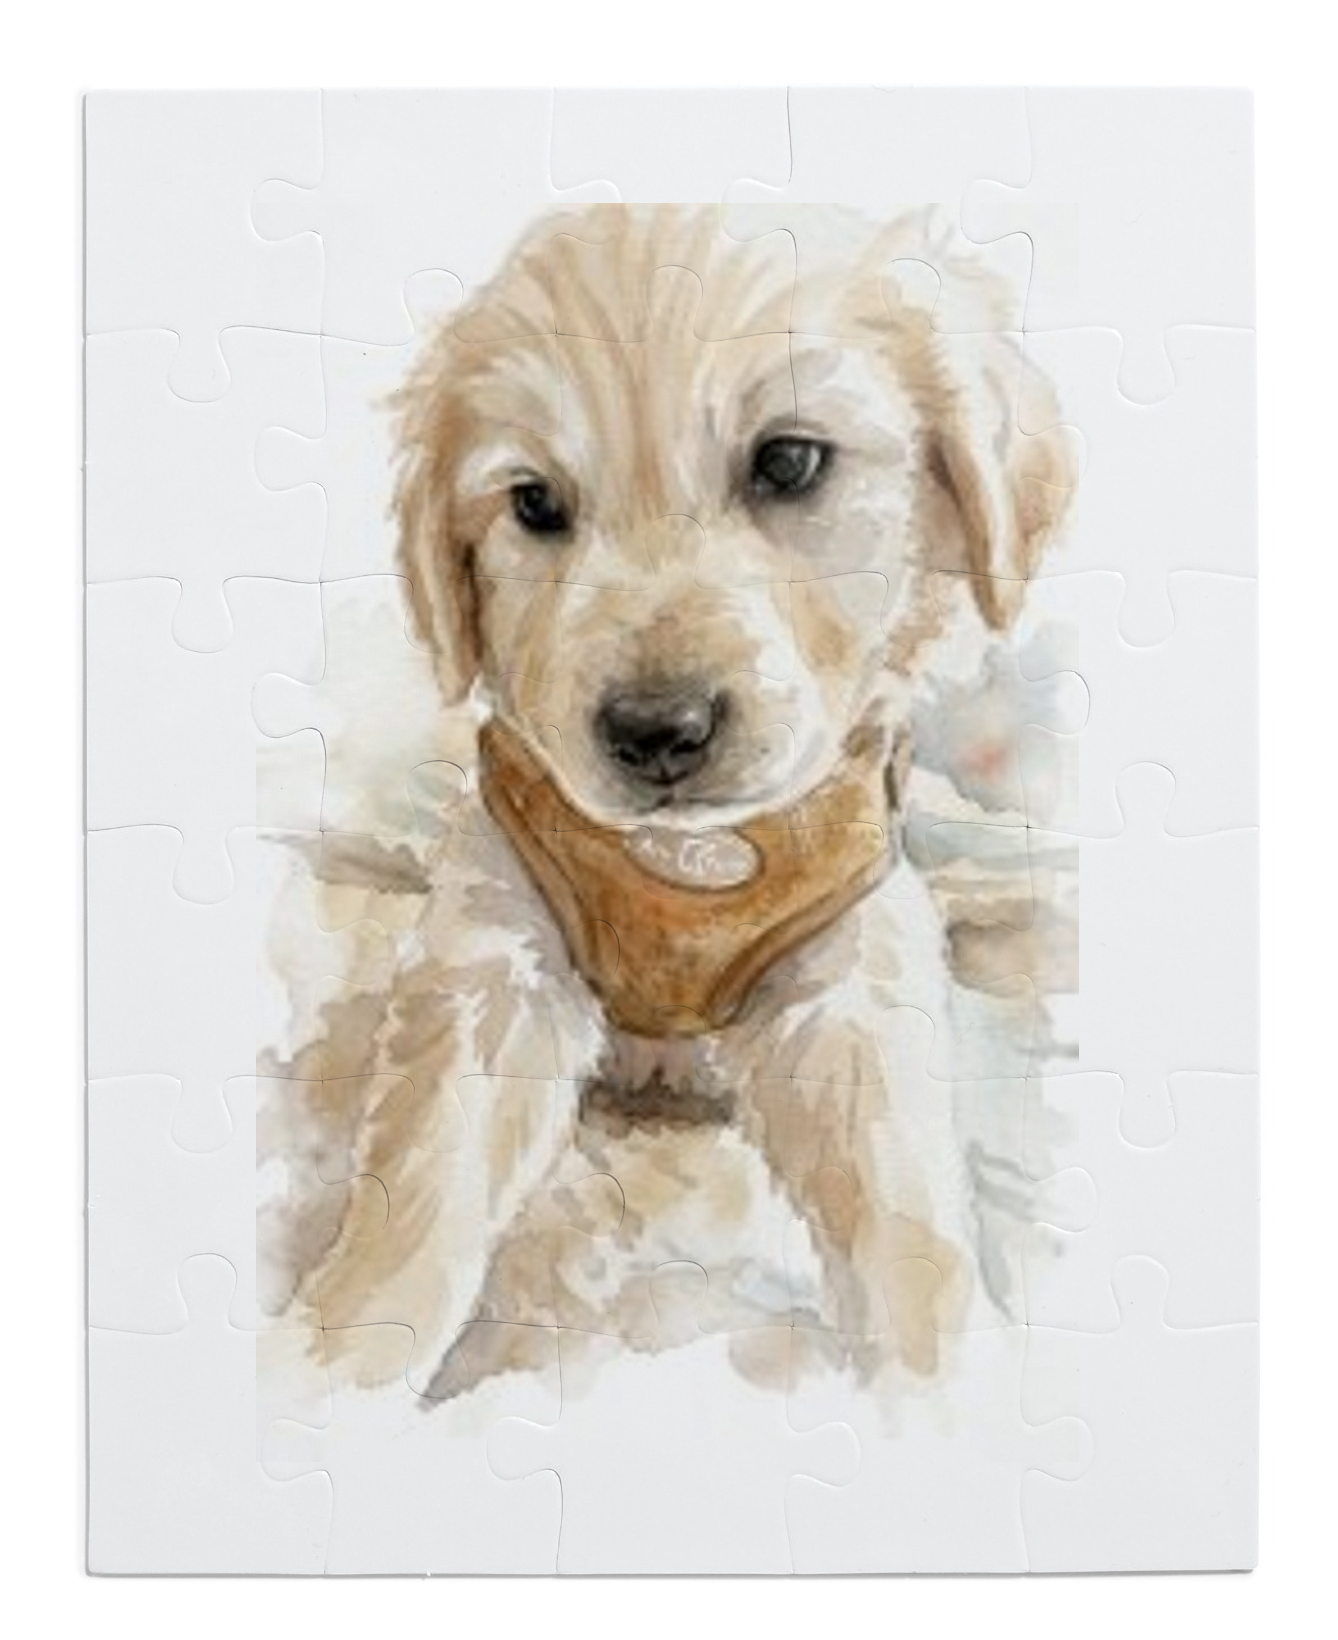 30 piece
250×200mm
30 piece
250×200mmCreating a Personalised Deck of Cards
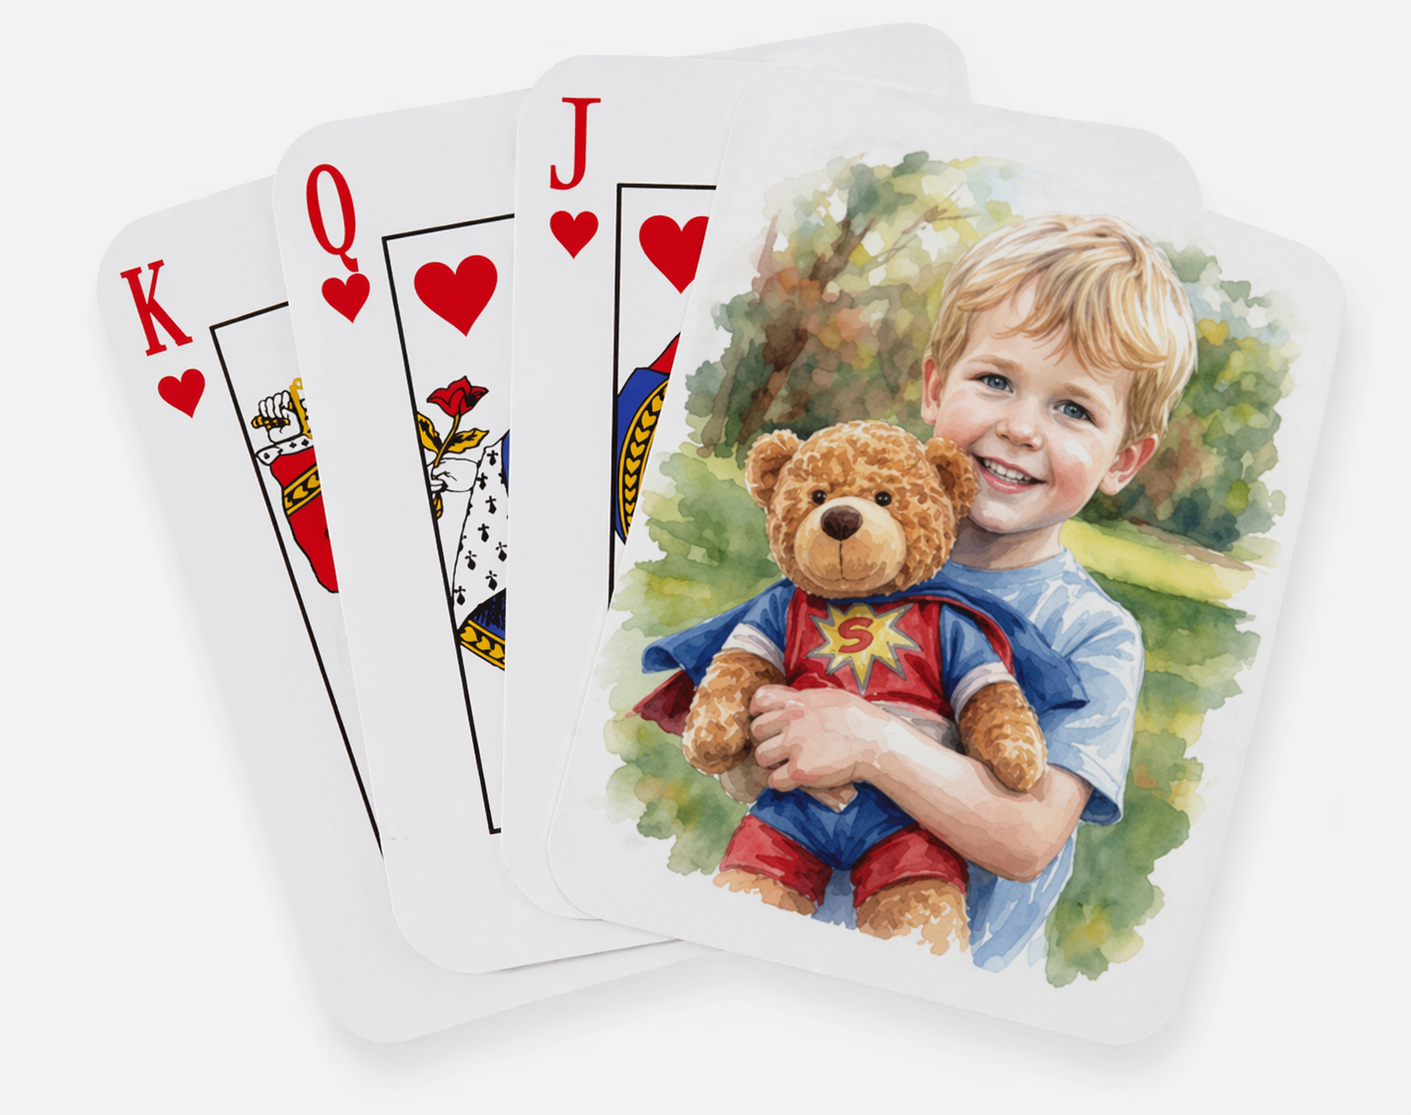
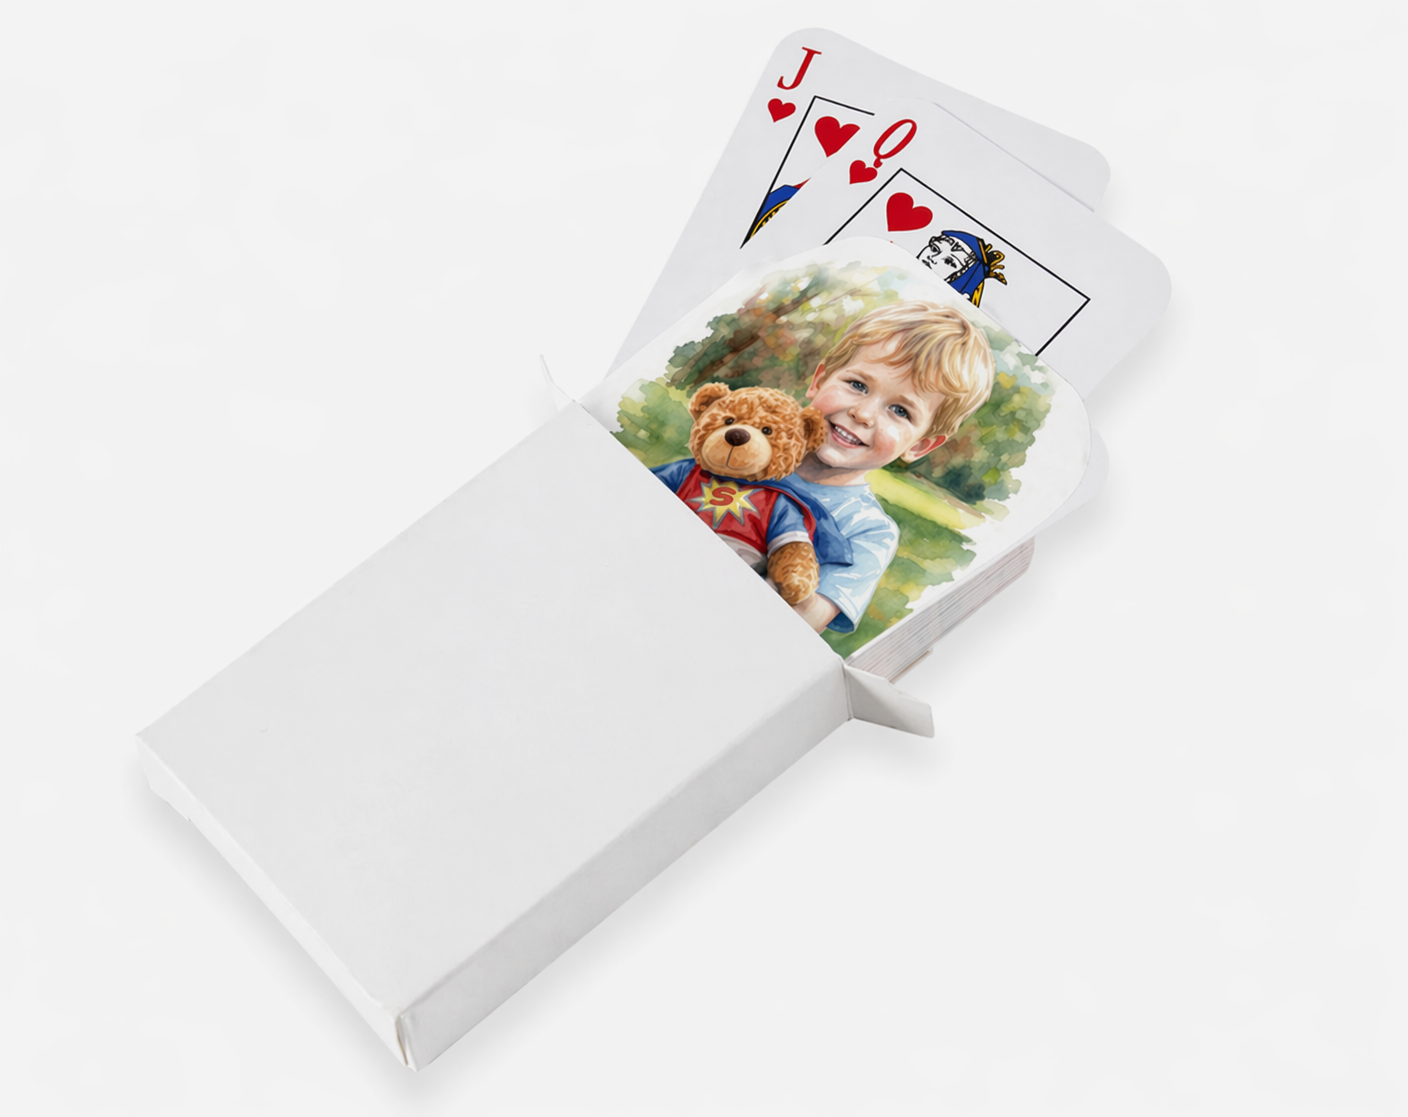
Your photo printed on every card in a full 52-card deck with 2 jokers — UV-coated and supplied in a plain white presentation box.
Open the Playing Card editor
Click Create Playing Cards from the home page or My Projects.
Upload your photo
Upload a photo (the cards are 6.4×8.9cm). Choose between portrait or landscape orientation to suit your image. Resize and position to fill the card frame. Add a caption or speech/thought bubble if you like.
Transform with AI (optional)
Apply an art style to turn your photo into a cartoon, watercolour, pencil sketch or black & white ink illustration. Use a custom instruction to change the scene or outfit before applying the style.
Order your deck
Head to Shop to buy. Your image will be printed on one side of every card; the suit is printed on the reverse. UK delivery only.
Send to print when ready
After payment you can keep editing. Click Send to Print in the editor when you're happy with your final image.
Add Extra Activity Pages to Your Book
Generate fun activity pages for free and add them to any book or magazine. Great for keeping kids entertained — or just for a fun personal touch.
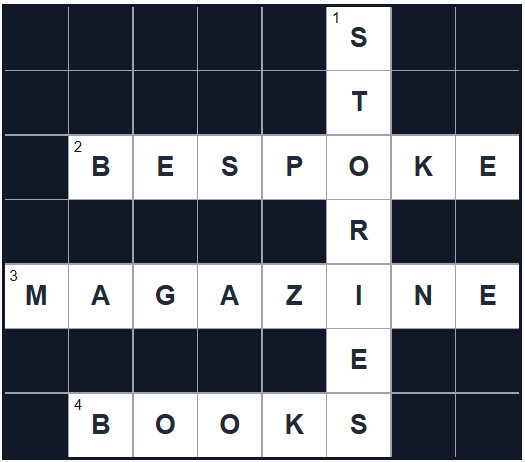
Crossword Generator
Generate a personalised crossword with your own clues and answers.
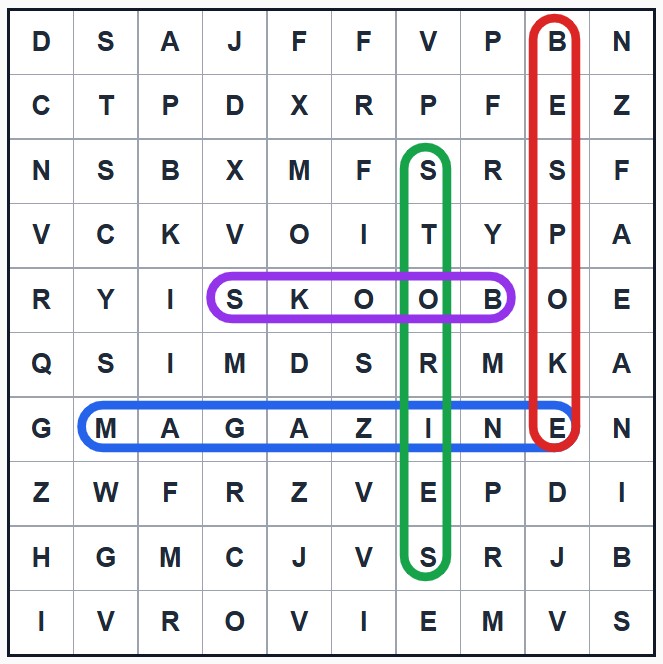
Word Search Generator
Create a word search with names, places or anything you choose.
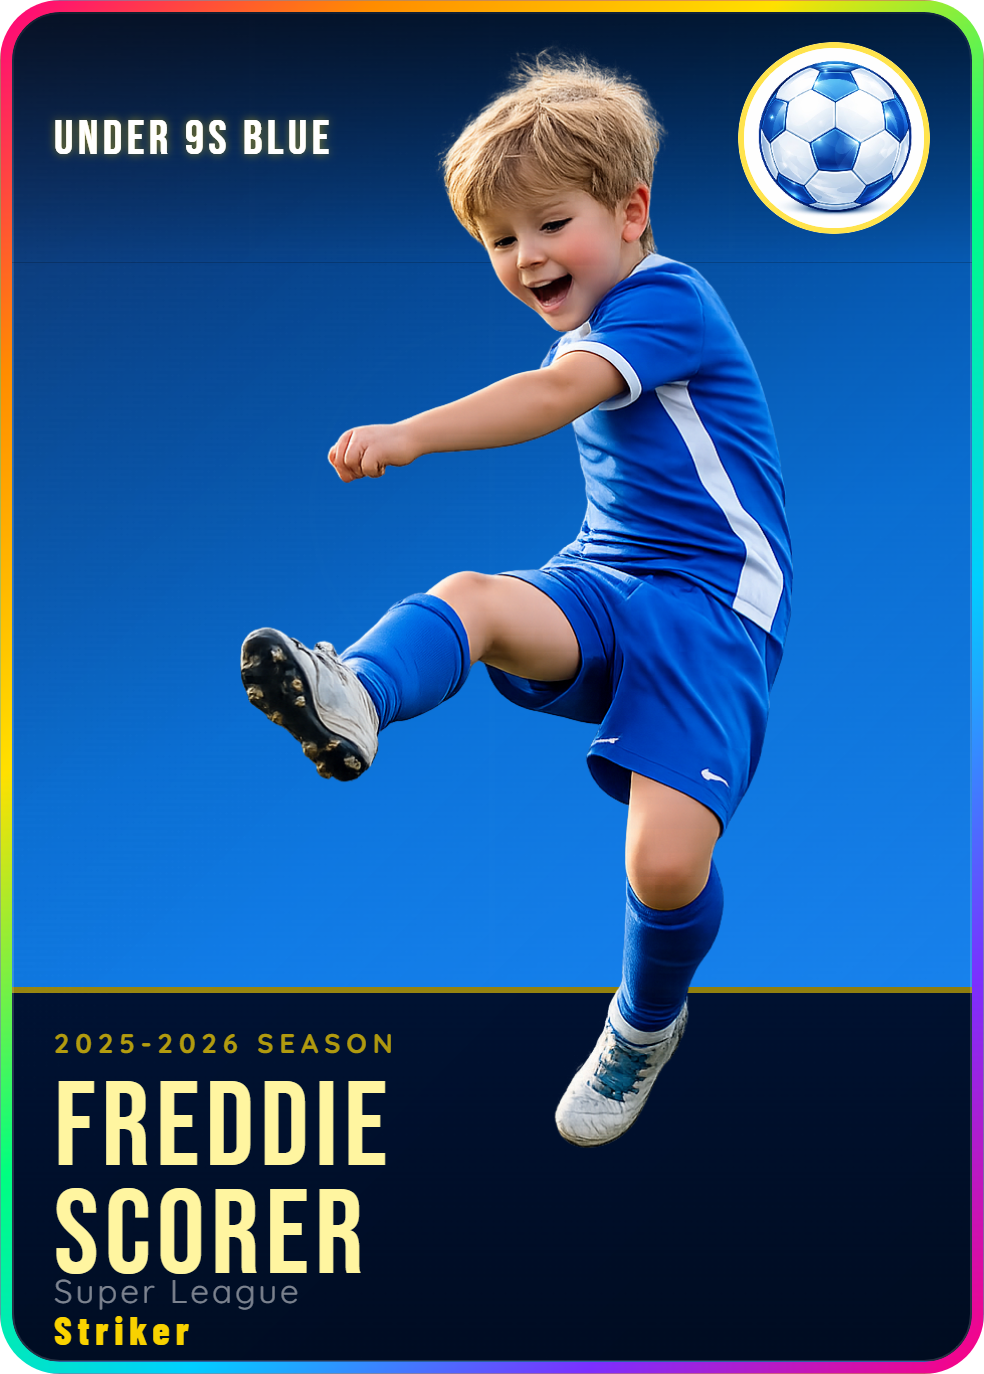
Football Card Generator
Make a personalised football-style card with stats and a photo.
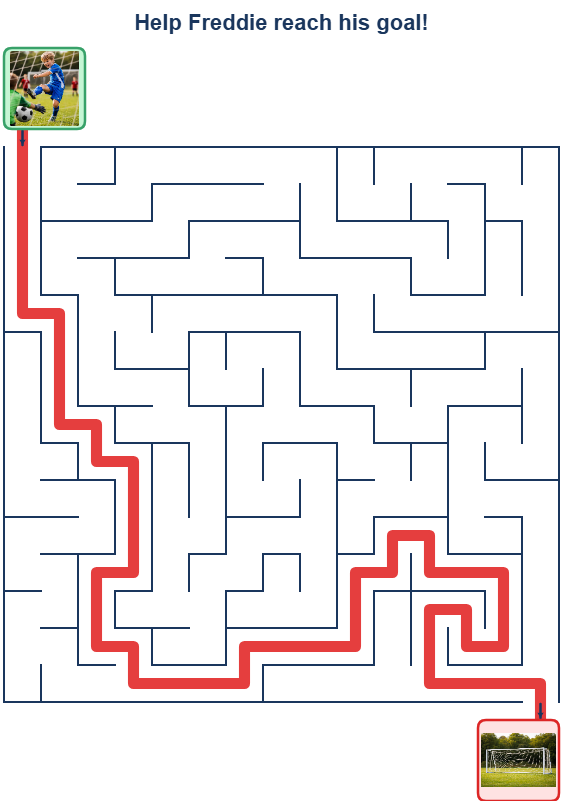
Maze Generator
Generate a random maze to add as a fun page in your book.
How to add them to your book: Generate your activity page, download the image, then upload it as a photo page in your book or magazine editor. Position it to fill the page and you're done.
Things to Know Before You Print
The bleed area
The red dotted line in the editor shows the bleed boundary. Anything outside this line may be trimmed off in printing. Keep all text, captions and speech bubbles inside the red line.
Page count
Books need a minimum of 24 pages (12 page pairs). Magazines need a minimum of 20 pages including covers. Add page pairs in the editor — one page pair adds 2 pages to your book.
Keep editing after payment
After you pay for a print, your book isn't sent to print straight away. You can keep editing, then click 'Send to Print' when you're completely happy. Once submitted, no further changes can be made.
Save transformed images
After transforming a photo, click 'Save image' to keep it in your library. Find saved images any time under My Projects → Saved Images. You can reuse saved images across multiple projects.
Extra copies
Order extra copies of your book or magazine at 10% off each. Extra copies are great for grandparents, relatives or friends.
Gift vouchers
Want to give someone a Books Bespoke experience? Buy a gift voucher in the shop for any amount from £5 — the recipient gets a code to redeem at checkout.
Ready to Get Started?
4 free AI transformations to try — no payment needed to start creating.